Showing posts with label DIY. Show all posts

Thursday, June 12, 2014

Diaper Bag First Aid Kit

As a mom, I always like to be prepared.  Being prepared means keeping a stocked diaper bag.  One of the things I never thought to put in my diaper bag was a little first aid kit.  Don't ask me how this slipped my mind, especially as a mom to a super active toddler!  I recently put together a mini first aid kit and I wanted to share just what I put in there!


Here's the lowdown:
Neosporin To Go .  This lovely product was given to me complimentary from Influenster in my TLC Vox Box!  I had never seen it before, but it's genius.  It's a spray so if you're out and about with dirty hands, there's no need to touch your child's wound...just spray the neosporin on and you're good to go!  Thanks to @Influenster, I'm #NeoReady!

Alcohol Wipes.  If your child gets a scraped knee when you're out, chances are, you may not be able to get to a bathroom to thoroughly clean the scrape.  These alcohol wipes hardly take up any space and they'll quickly disinfect the cut until you can get home and clean it with soap and water.

Bandages.  This is probably pretty self explanatory.  I suggest finding a character that your child loves to help cheer them up while they're in pain.  I always buy the assorted size box too so that you can cover any size of cut/scrape!

Tweezers.  Great for getting out splinters and tons of other uses....including emergency brow shaping!  ;)

Disposable Gloves.  Once again, great for when you aren't able to wash up before bandaging your child.  Make sure to get latex free if anyone has an allergy!  Helpful hint: I also use these when applying self tanning lotion!  :)

Instant Cold Pack.  I had no clue these even existed!  They're so cool and super helpful for little ones' boo boos!

Hand Sanitizer .  Clean up before and after!  I like the kind that I can just hook to my diaper bag for every day sanitizing!


You can customize your kit for your own needs.  You might want to add heavier duty things like gauze and medical tape.  You might even want to take some benadryl.  I wanted to keep mine very small since my diaper bag is already packed full with two kiddos in diapers.  You can also keep a bigger kit in your car!

Photobucket

Thursday, June 5, 2014

Carson's 2nd Birthday Party

If you haven't seen what we did for Carson's first birthday, check it out here.  We did a whale theme last year since he wasn't really "into" anything yet.  This year he is into so many different things it was hard to choose!

I didn't do much outside because it was supposed to rain that day.  I stuck a balloon on the mailbox and made this quick DIY sign for one of our garden hooks.  I really wanted to do duct tape train tracks on the sidewalk but the tape wouldn't stick.  It was a total Pinterest fail.  How sad!

Here's a few of the banners I made.  The photo banner is a picture of Carson every month from months 13-23.  Scroll down to see a college of the photos!

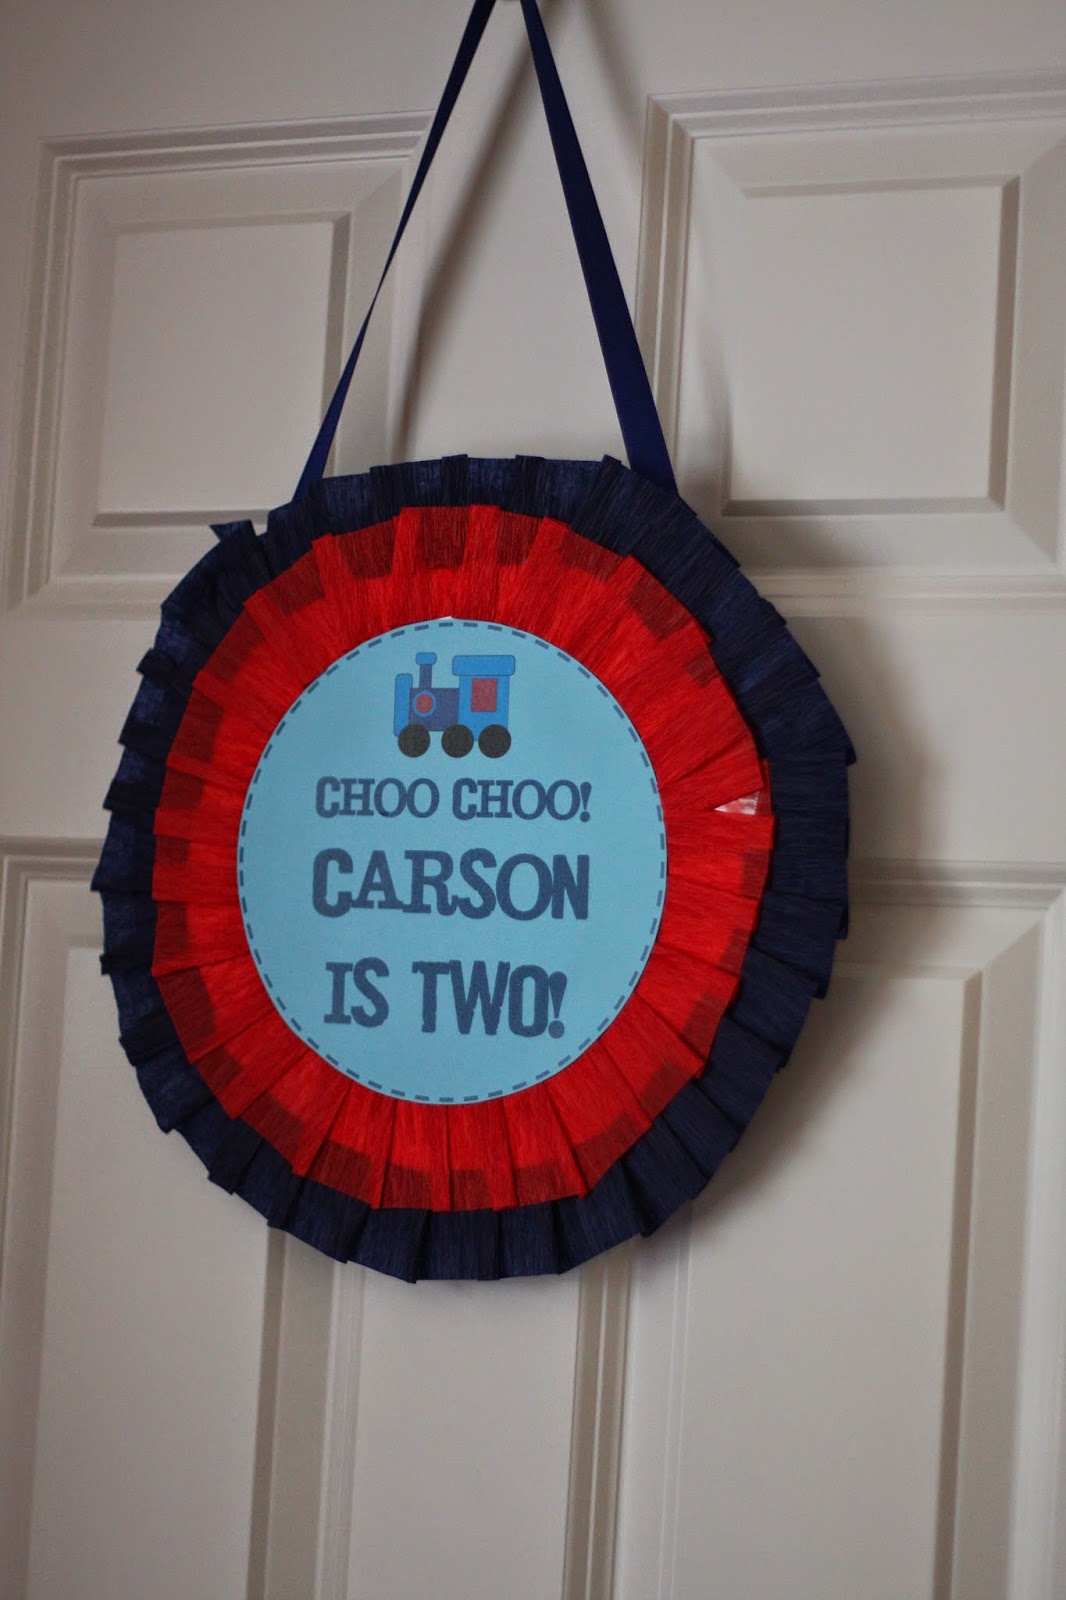
Here's another DIY sign I made using a cardboard cake base and streamers.

I decorated the mantel with a Carson banner and some of Carson's photos.

6 months - 12 months - 18 months
I love our invitations!  The Etsy seller was so easy to work with!
{via}

I decided not to buy a cake this year for two reasons: 1.) I didn't know how many people were coming for sure and 2.) it saved a lot of money!  I made homemade cupcakes instead and I think it was a success!

These snickerdoodle cupcakes are the bomb.com.  I'll be sharing the recipe very soon!

Since I didn't have a super fancy cake like last year, I decided to dress up my cupcakes with some homemade toppers!  These Oreo cupcakes were pretty good, too.  They had a hidden Oreo in the bottom!


I stole this food train idea from Pinterest.  The Thomas toy was actually a hand me down from some cousins and it worked perfectly!


Beverage station!  I made strawberry lemonade by making strawberry ice cubes and everyone seemed to enjoy it!  The ice cubes are super simple: puree strawberry, pour into ice cube tray, freeze!  I added a little extra sugar and water to my strawberry puree.

My mother-in-law bought this little name train for Carson about a year ago and it was perfect for the party!

The birthday boy!  I love his birthday shirt because he can wear it again and even pass it on to his brother.  I loved having a custom "Carson" shirt for his first birthday but didn't think it was necessary this year.
{via}
I found this favor idea on Pinterest and though it was super cute!  (Seriously, how would we ever throw a party without Pinterest these days?!)  The bandanas are from Hobby Lobby and the hats and whistles are from Amazon.  You can also find everything through Oriental Trading but I wanted fast shipping so I went with Amazon!  Plus, Amazon was cheaper!
{whistles}  {hats}

Here's a closer look at the pictures I included on the banner:

Here's a look at the thank you notes I used.  I used a photo card last year and it was a big hit so I wanted to do it again!  I took the photo myself and ordered the card through Walmart!


Photobucket

Friday, May 9, 2014

Easy Mother's Day Craft

I promise I'll get back to blogging soon.  I have a list of post ideas and I just need to take the time to sit down and work on them!  Does anyone know where I can get some extra time to do that?!

Anyway, I wanted to share a quick and easy Mother's Day craft idea.  My mom and mother-in-law love getting little "handmade" gifts from Carson so I knew I wanted to include Mason this time!  I had to do something easy since he's only 3 weeks so I decided on foot prints.  I based this off a picture I saw on Pinterest and made a few modifications.

For the foot prints I used 3 colors on Carson and then one on Mason.  Carson loves it and says "tickle!" the whole time.  Mason was not a fan of the cold paint....poor guy!

It's not perfect but it was made with love! :)


Photobucket

Thursday, April 10, 2014

DIY Name Art {For the Nursery}

For the longest time I couldn't think of what I wanted to hang above Mason's crib.  I considered a wall decal, I considered a little flag bunting/banner, and I thought of other ideas.  I just kept coming back to name art.  Carson loves the name art we hung over his crib and loves to spell out his name with me.  I figured it would be a fun little thing to make for Mason, too!  I wanted to change it up this time so I made Mason's name art a little different than the way I made Carson's.  (Scroll down to see a picture of Carson's!)


What You Need
Wooden Letters
Paint, Paint Brush(es)
Canvas (I bought an 8x24 for a 5-letter name)
Fabric
Hot glue gun
Thumb Tacks**
Ribbon (optional)

How to Make

  1. First paint your wooden letters.  I chose a dark gray color called "Hippo Gray".  I painted the fronts of the letters first with a sponge brush and then went back and painted the sides with a smaller angled paintbrush.
  2. Iron your fabric and cut to size.  I bought an 8"x24" canvas and I purchased 1/3yd. of fabric.  
  3. Once your fabric is prepped, wrap your canvas.  Wrap the edges like you would wrap a gift and staple into place.
  4. Place your wooden letters on the canvas to plan your spacing.  Once you have them placed how you like, stick them on with some hot glue!
  5. Optional: If you want to add in another color, glue a piece of ribbon around the edge of the canvas to add some dimension.  I thought about doing this with navy blue ribbon but then decided I liked it without the ribbon.
**After using my hot glue gun to glue my letters onto the fabric covered canvas, I discovered they didn't seem very secure.  Because this will be hung over Mason's crib, I decided to secure them a little better.  I got some thumb tacks from my desk drawer and pushed them through the back of the canvas into the letters.  This really holds the letters in place with no chance of falling!


I bought all of my supplies at JoAnn's and the total cost of this project was under $15!  I used a 25% off total purchase coupon and bought the items while many of them were on sale.  

Here's a look at the name art I made a few years ago for Carson's nursery.  Similar, but different.  :)


Photobucket

Thursday, March 27, 2014

DIY Yarn Wrapped Letter

This was an easy project but very tedious...especially for perfectionists like myself!  Please note that my instructions are specifically for a letter 'M'.  If you do another letter, especially one with curves, your process will be a little different!


What You Need:
Yarn
Wooden letter
Tape or hot glue
Optional: paint to match your yarn

How to Make: (scroll down for step by step photos)

1. I was using a dark color of yarn so I decided to paint my letter to match the yarn.  This way if there was any space that was left uncovered, it would be less noticeable!  I spray painted my letter using this handy method.
2. Allow your letter to dry thoroughly.  Unfortunately my spray paint nozzle was faulty so my letter looks a little weird.  No worries though since it's just getting covered!
3. Once your letter is dry, you can start wrapping with yarn.  I wrapped vertically on the "legs" of the M first (see photo below).  To start wrapping I secured a piece of yarn with tape.  You can also use hot glue if you prefer.  When I was done wrapping a section, I would secure the end with tape again.
4. Once you have the legs wrapped vertically, get the edges on the top and bottom of each leg as well as the center "v" portion of your 'M'.
5. Now that you have your first layer, you're ready to start the second layer!  For this layer I wrapped horizontally.  I started at the bottom of each leg and moved up until I hit the corner by the "v".
6. After step 5 I was really intimidated.  I couldn't figure out how to get a first layer onto that middle "v" portion of my 'M'!  I decided to just do one layer there instead.  I started at the bottom of the "v' and wrapped horizontally.  After that I wrapped the upper right and left portions of the "legs" on my 'M' horizontally so that my yarn would have a uniform look.  I think it turned out great!  (Other than resembling the University of Michigan M, gross!)


Photobucket

Thursday, December 19, 2013

Holiday Card Display

Every year I try to figure out a way to display all of the holiday cards we get.  I love hanging them up and seeing all of the cute kids and babies (and pets, too)!  The last few years I hung a "garland" of twine across our dinette window and hung the cards with mini clothespins.  I liked how it looked but it was hard to get the cards to hang evenly AND it was directly over an air vent so the "garland" was always moving a bit.  Oh, and I usually had to get on a chair to add a card.
I don't even have those curtains anymore!


This year since our house is on the market (and because it's not ideal for a pregnant lady to be getting up on chairs every day), I decided to revamp our card display!  I've seen card displays all over Pinterest and really liked the ribbon + sign method.  I didn't want to spend a ton so I found this cute snowflake sign at Target for $5.  I used ribbon I already had at home and voila - easy peasy!  (I also re-used my adorable mini clothespins from last year...I love those things!)

I like this display because it's easy to reach and it's something I can easily flip to the backside of the door for any showings we may have.

Here's a close-up of the mini clothespins and how I attach the cards:


Just last year I decided I wanted to start saving my holiday cards.  I love looking at them and it's so sad to throw them away!  If you want to see how I saved my cards last year, check out my blog post/tutorial!  I plan on making it again this year!  Here's a sneak peak:

Here's an updated picture of our card display now that the cards have started rolling in!


Photobucket

Tuesday, December 10, 2013

How-To: Salt Dough Ornaments

Last year I made some personalized DIY glitter ornaments to add to our tree.  {Click the link to find a how-to post!}

This year I wanted to make something with Carson.  I knew I wanted to include his hand print because I know how much fun it will be to compare his hand size in the years to come!  I saw this Santa hand print ornament idea on Pinterest and thought it was adorable!  Here's how ours turned out and a quick tutorial!


What You Need:
1/2 cup salt
1/2 cup plain flour
1/4 cup water
rolling pin
knife
paint (I used acrylic)
sealer (I used Mod Podge)
paint brushes
cookie sheet
parchment paper
*Optional: cookie cutters

How to Make:
-Preheat your oven to 200 degrees.
-Combine salt, flour, and water in a mixing bowl and knead until combined.  Your mixture should be a dough-like consistency.
-Roll out your dough just like you would when making sugar cookies (yum)!  I rolled mine to be about 1/4" thick.
-Take your child's hand help them gently press into the dough to create a hand print.  Don't press too hard or you will go through the dough!
-Using a sharp knife, cut around the hand print.  Leave a small border.
-Place your cut-out on a cookie sheet lined with parchment paper.
-Gather your dough scraps, roll it out again, and get as many hand prints as you can!  If you want, use a cookie cutter to make some other fun ornaments!
*This recipe made about 4 toddler-sized hand prints for me as well as one cookie cutter shape.

I also made one cookie cutter shape with some extra dough we had.  Carson used a foam brush to paint the tree and a Q-tip to add some ornaments!
After baking, before painting.


 Here is the original pin:


I'm linking up with Kristin:
Photobucket

Tuesday, November 19, 2013

Edible Homemade Pumpkin Playdough

Who here is making something pumpkin flavored for Thanksgiving?!  I know I have a recipe in mind, but it doesn't use the entire can.  This playdough recipe is great for using that leftover canned pumpkin!


What You Need:
Canned Pumpkin
Cornstarch
Pumpkin Pie Spice (optional)

How to Make It:
  1. Mix your canned pumpkin in a bowl until you have a smooth consistency.  I used about a half can.  
  2. If desired, add some sprinkles of pumpkin spice so that your mixture starts to smell delicious and fall-like.
  3. Slowly add in your cornstarch and stir.  The dough will start trying out and you can switch to kneading.  The dough should be dry enough to roll into a ball, but not so dry that it is crumbling.  You also don't want the dough to stick to your hands.   
    • If the dough is sticking to your hands --> add more cornstarch!  
    • If the dough is crumbling --> add a small amount of water!

This pumpkin playdough will keep in an airtight container for about 2-3 days in the refrigerator.  When you get it out of the fridge, you will probably need to knead it again and add a bit of water to soften the mixture.

{Original Source}

Here are some pics of Carson enjoying his playdough....
It really is edible!  Not tasty, but totally safe!


Testing the bouncing capabilities :)


He was throwing it around and threw it right off the tray!

Dixie was curious :)

Guilty!


Photobucket